This tutorial is the result of an experiment trying to install Manjaro Linux on a USB Drive using graphical tools as much as possible (in a relatively hassle-free way) and so as to create a portable installation which one can carry in one’s pocket.
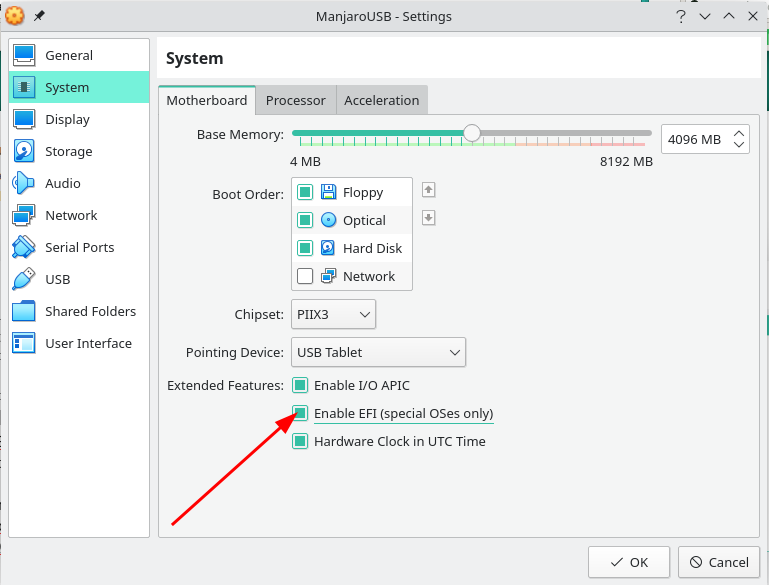
(Respected Forum members, this tutorial was done using Manjaro KDE in UEFI mode, please feel free to update this if anyone succeeds to follow this and install in any other case.)
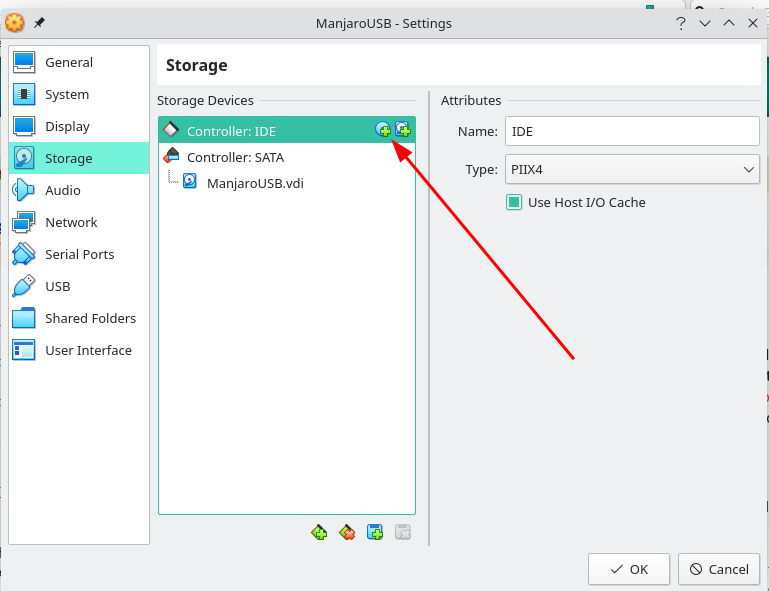
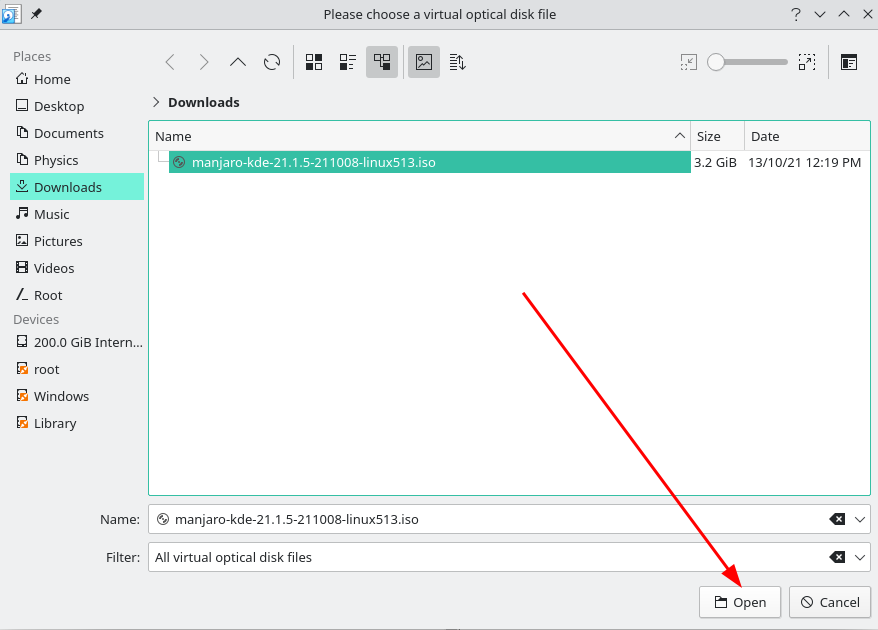
Method 1: Using VirtualBox
Method 1: Using VirtualBox
Prerequisites:
Manjaro or any linux distro installed on a computer (Windoze or MacOZ should work, too ), VirtualBox installed along with proper version of the Extension Pack (VirtualBox - Manjaro); and USB support enabled in VirtualBox (How to Enable USB in VirtualBox).
… And a USB Stick (>= 3.0 recommended for usable speed).
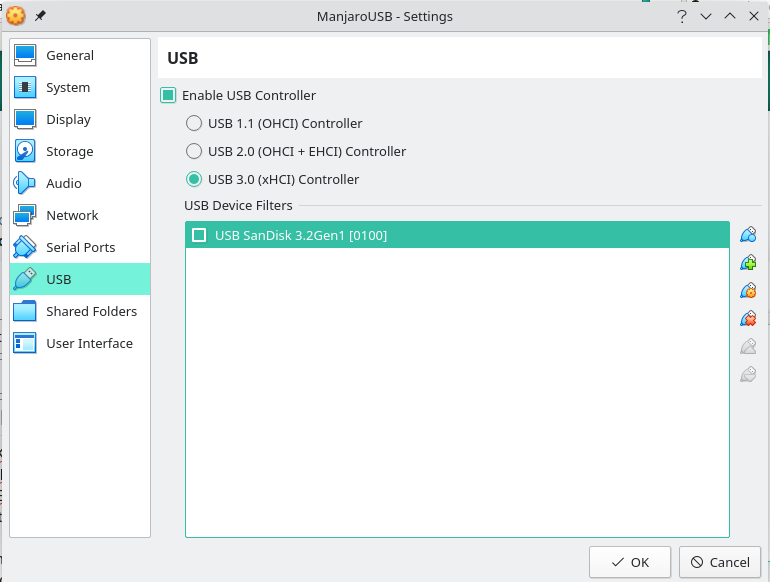
b. Insert your USB stick. Go to USB section in the settings of the virtual machine and in the USB controller section select USB 3.0
Then click the add button in the right and select your inserted USB drive.
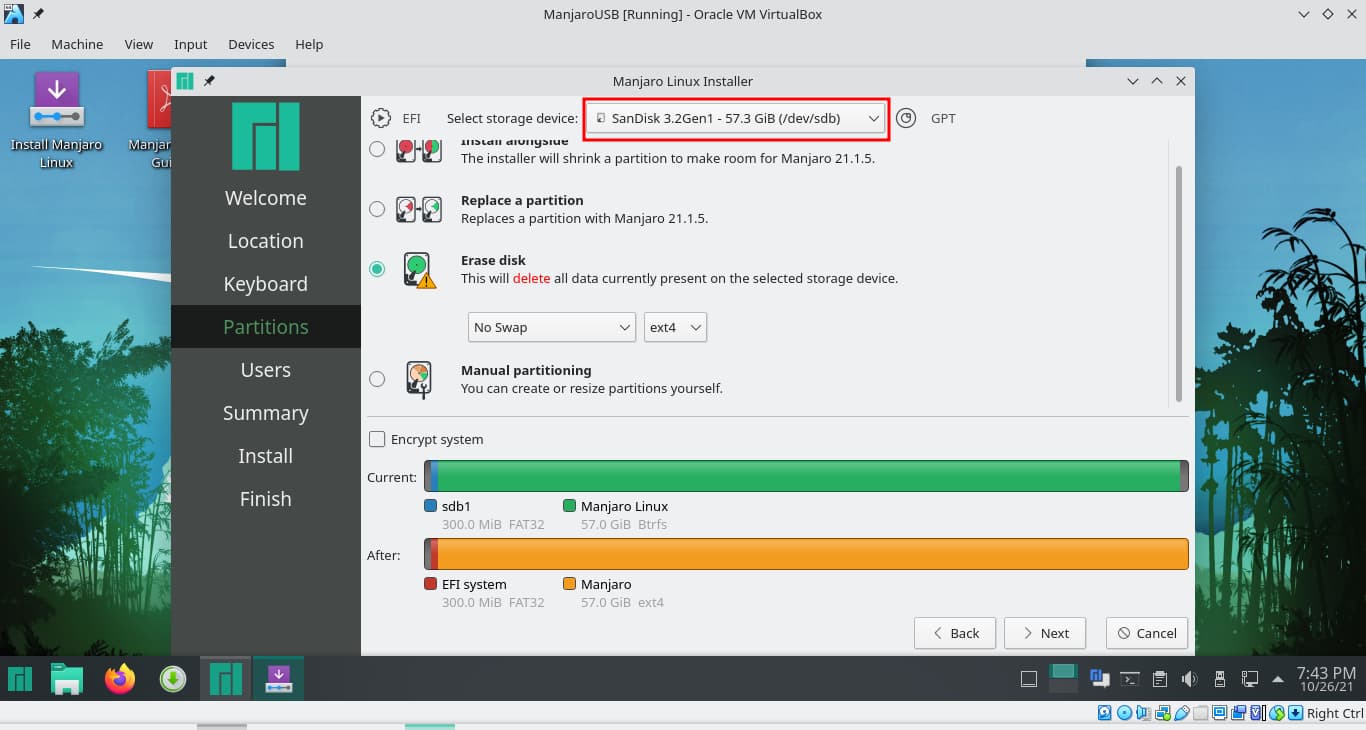
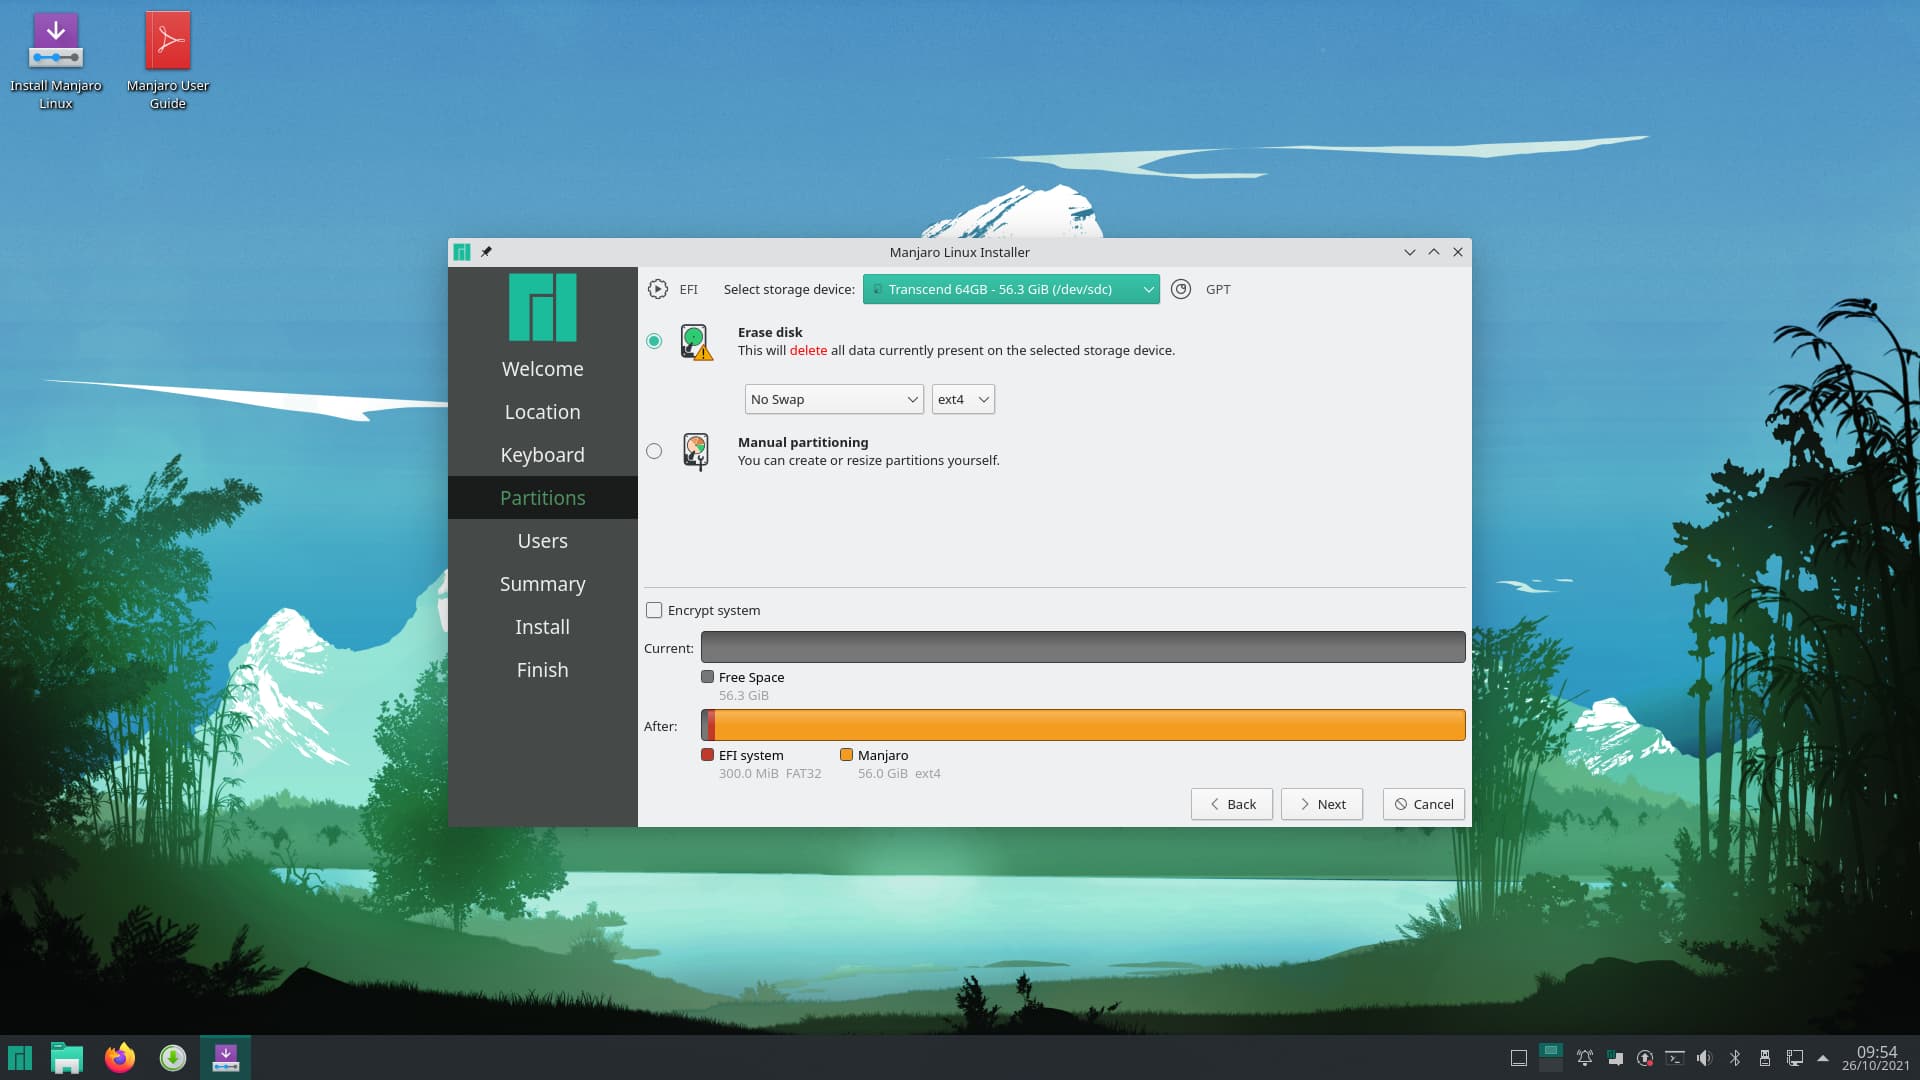
c. Do the partitioning as you like. For the sake of “simplicity”, I shall erase the disk and let the installer do the partitions. Then press next.
d. Setup your user and click next.
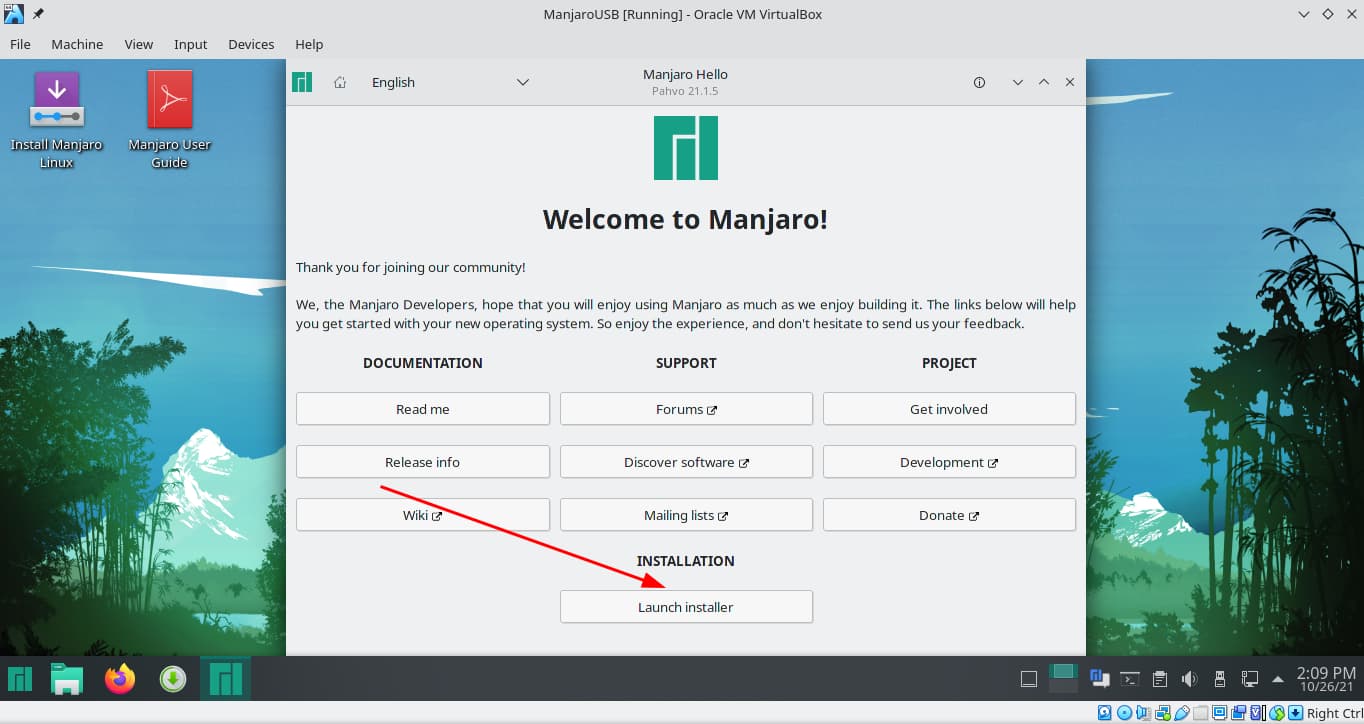
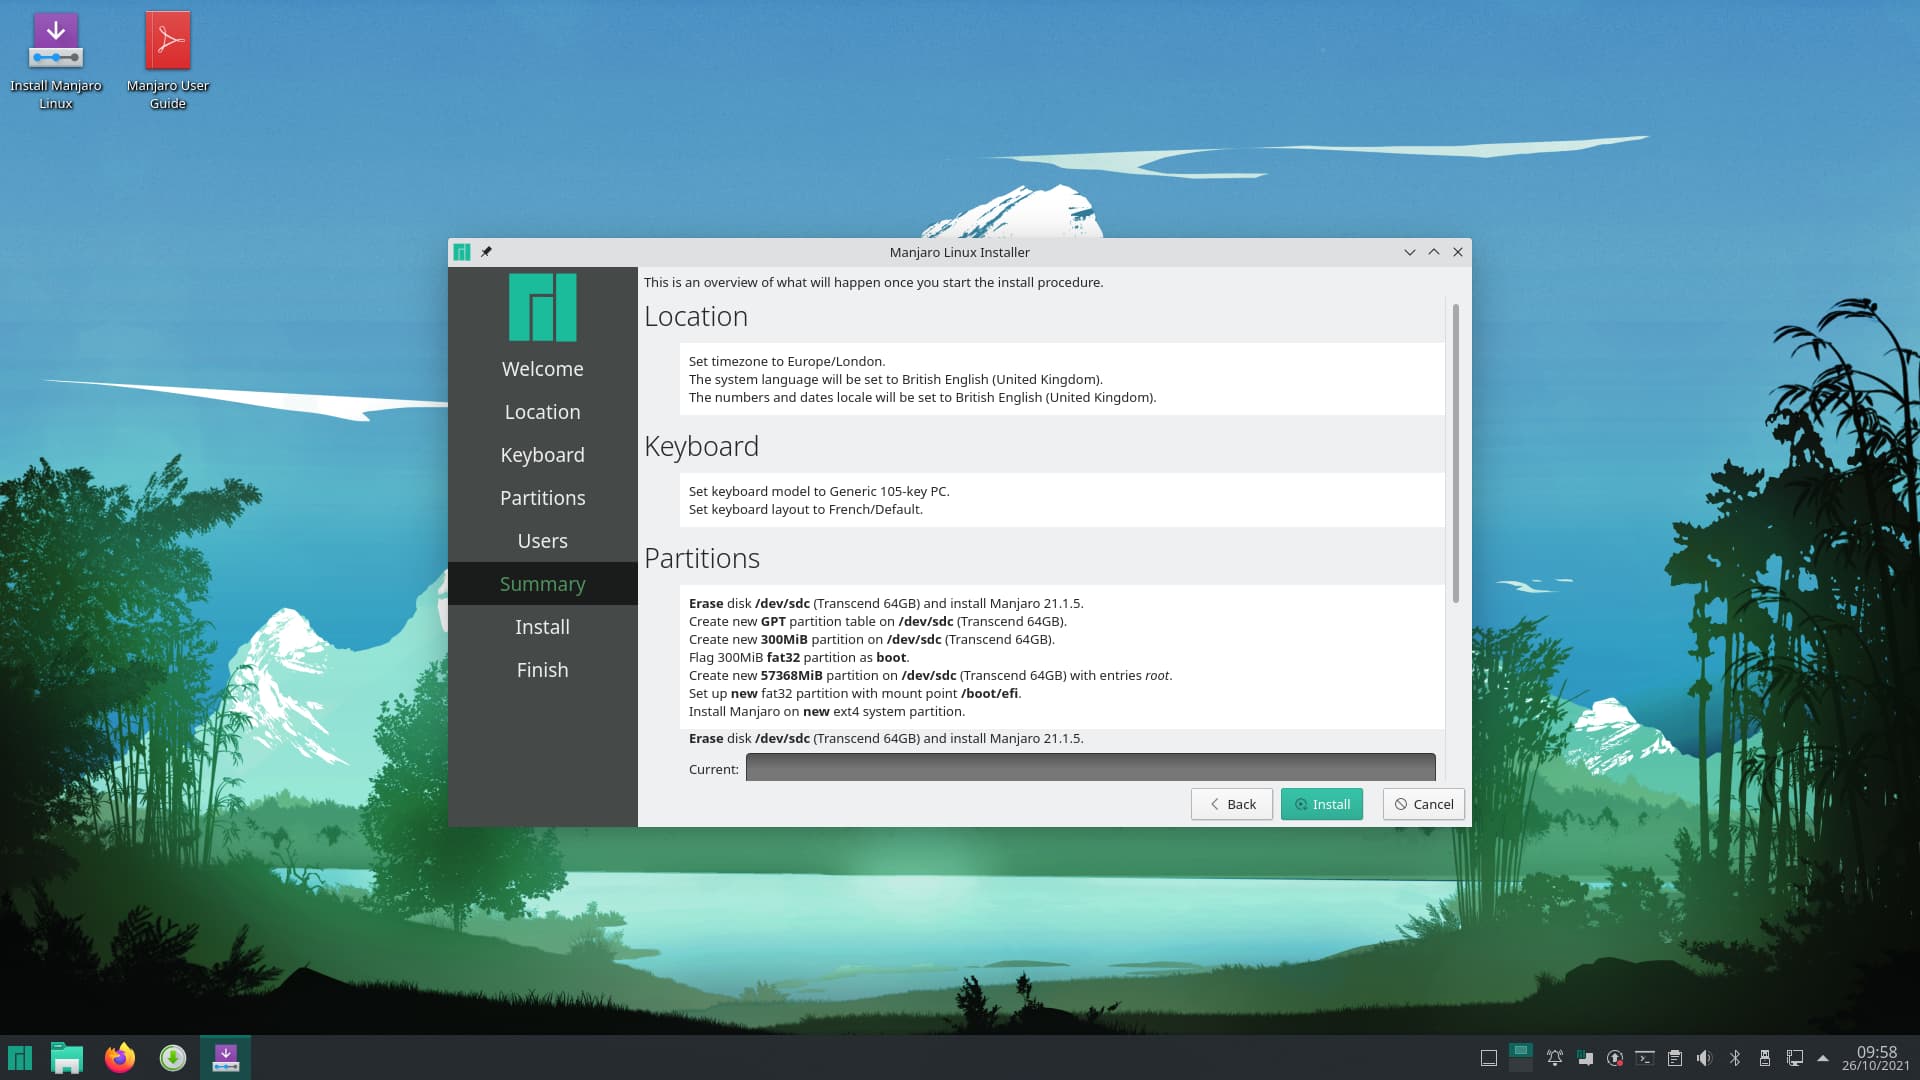
e. In the next screen go through what is written and check everything is ok and then press Install .
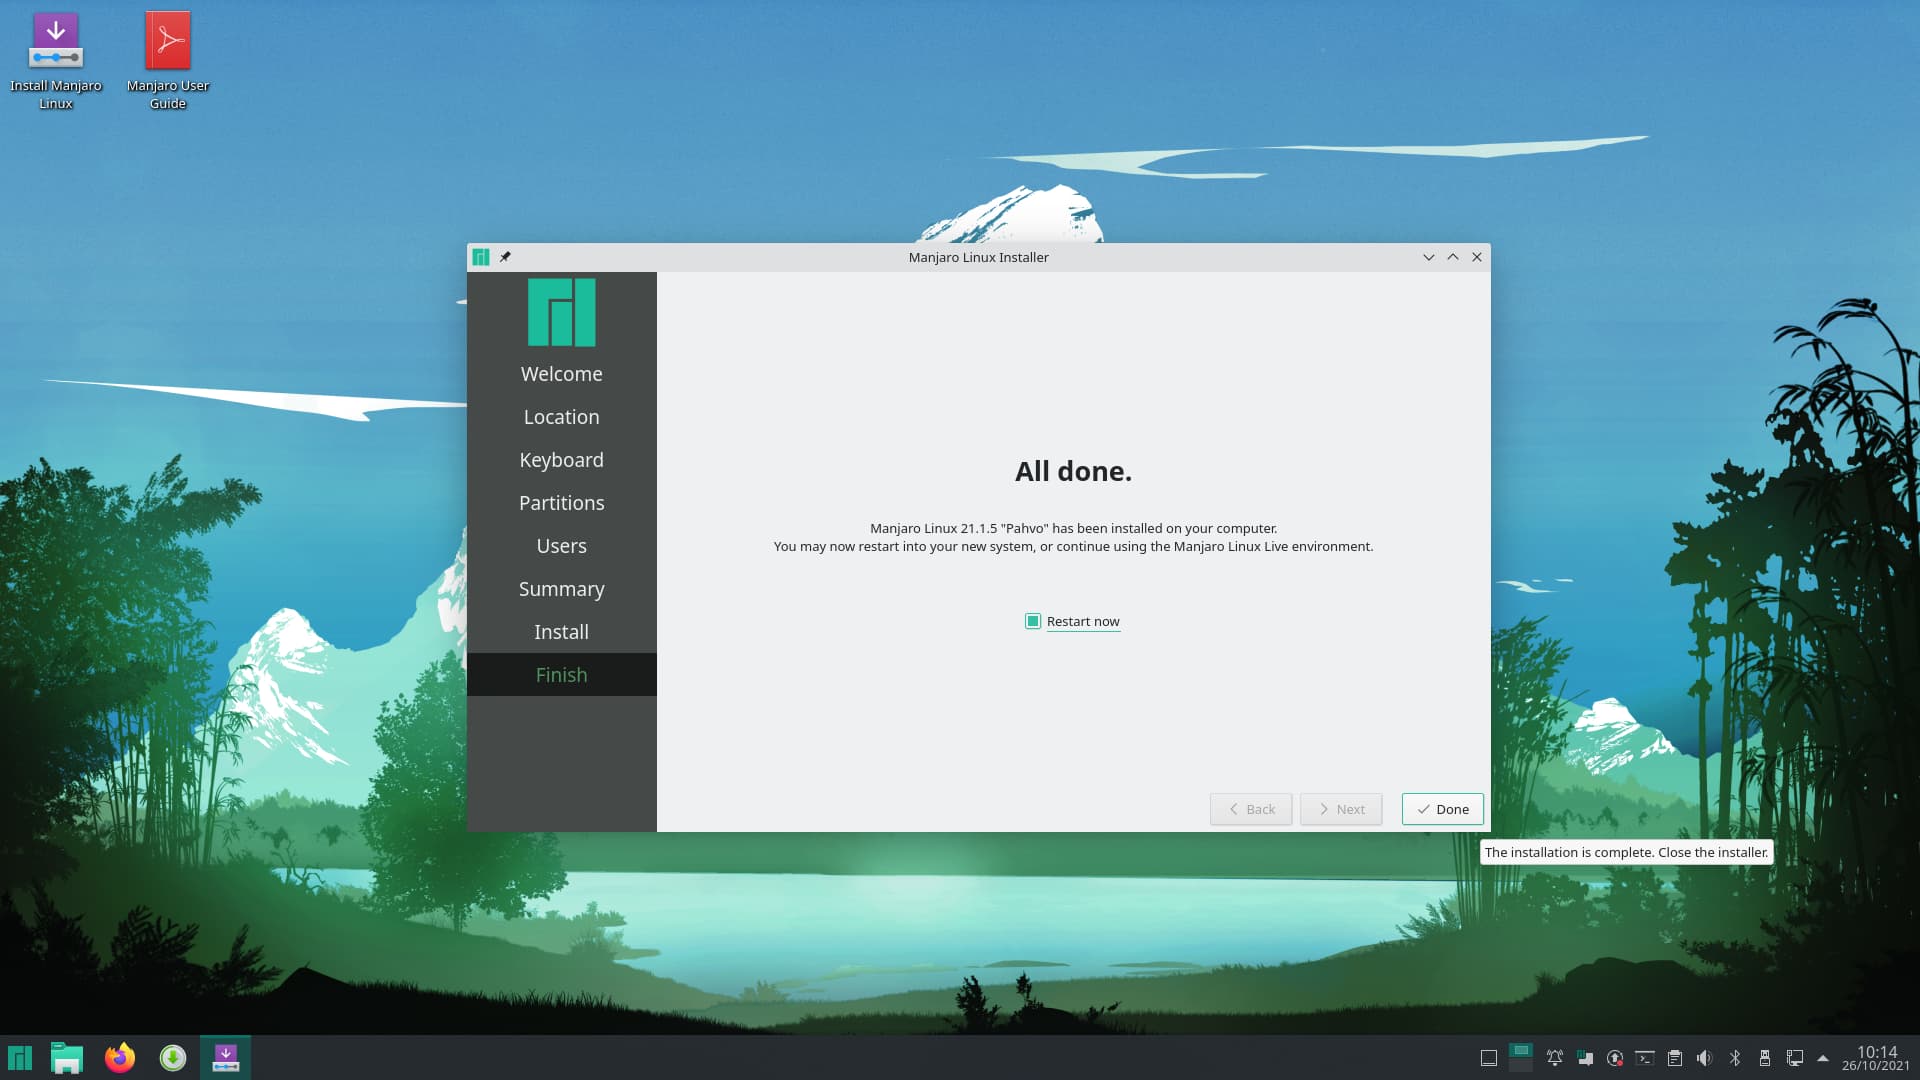
f. Take a break and let Calamares do its job. After it is finished check Restart and press Done.
Now shut down the VM. Eject the USB stick, shut down your computer.
Select your USB stick from the boot menu. If it boots, and I sincerely hope it does, your Manjaro-in-USB is ready for use!
Why VirtualBox is used in this tutorial?
No chance of mistakenly affecting your hardware.
The installed USB is a standalone system. It won’t overwrite the grub of your existing system in no scenario (As the installation was done in VM) (Overwriting the grub is a slight possibility when you install the OS into the USB directly from live media in your hardware).
It requires only one USB drive instead of two.
Method 2: Using 2 USB drives (VirtualBox not needed)
Method 2: Using 2 USB drives (VirtualBox not needed)
A working computer and two USB Sticks [One contains the ISO file, other one for installing Manjaro] (>= 3.0 recommended for usable speed).
Actual Process:
Create the bootable live media in one of the USB drives using softwares like Etcher and likes or using Ventoy For more security and avoid any damage on the hard drives I unplugged the other drives (ssd, m.2-sata, …)
The USB keys are from different size
USB key with the image => 32 Gb
USB key for the future OS => 64 Gb
Attach the two USB drives to your computer.
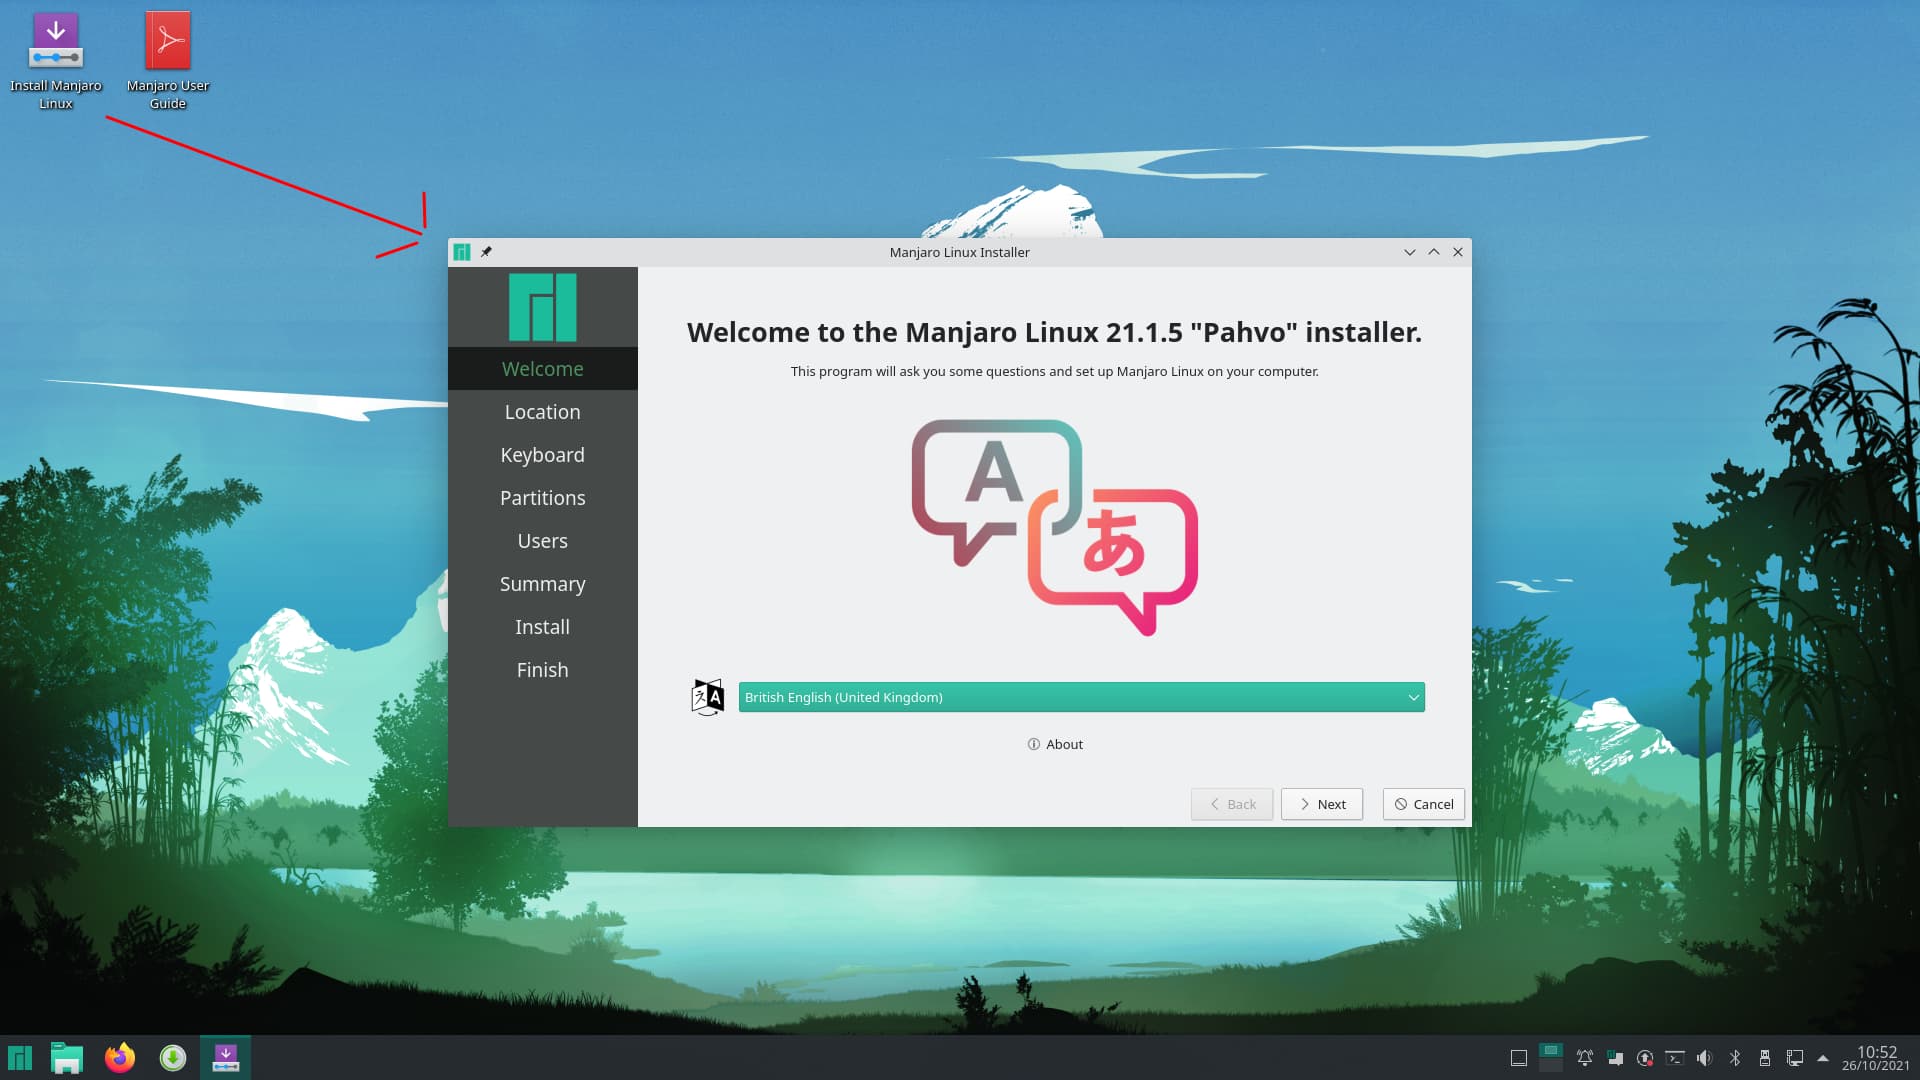
Boot up the live media and
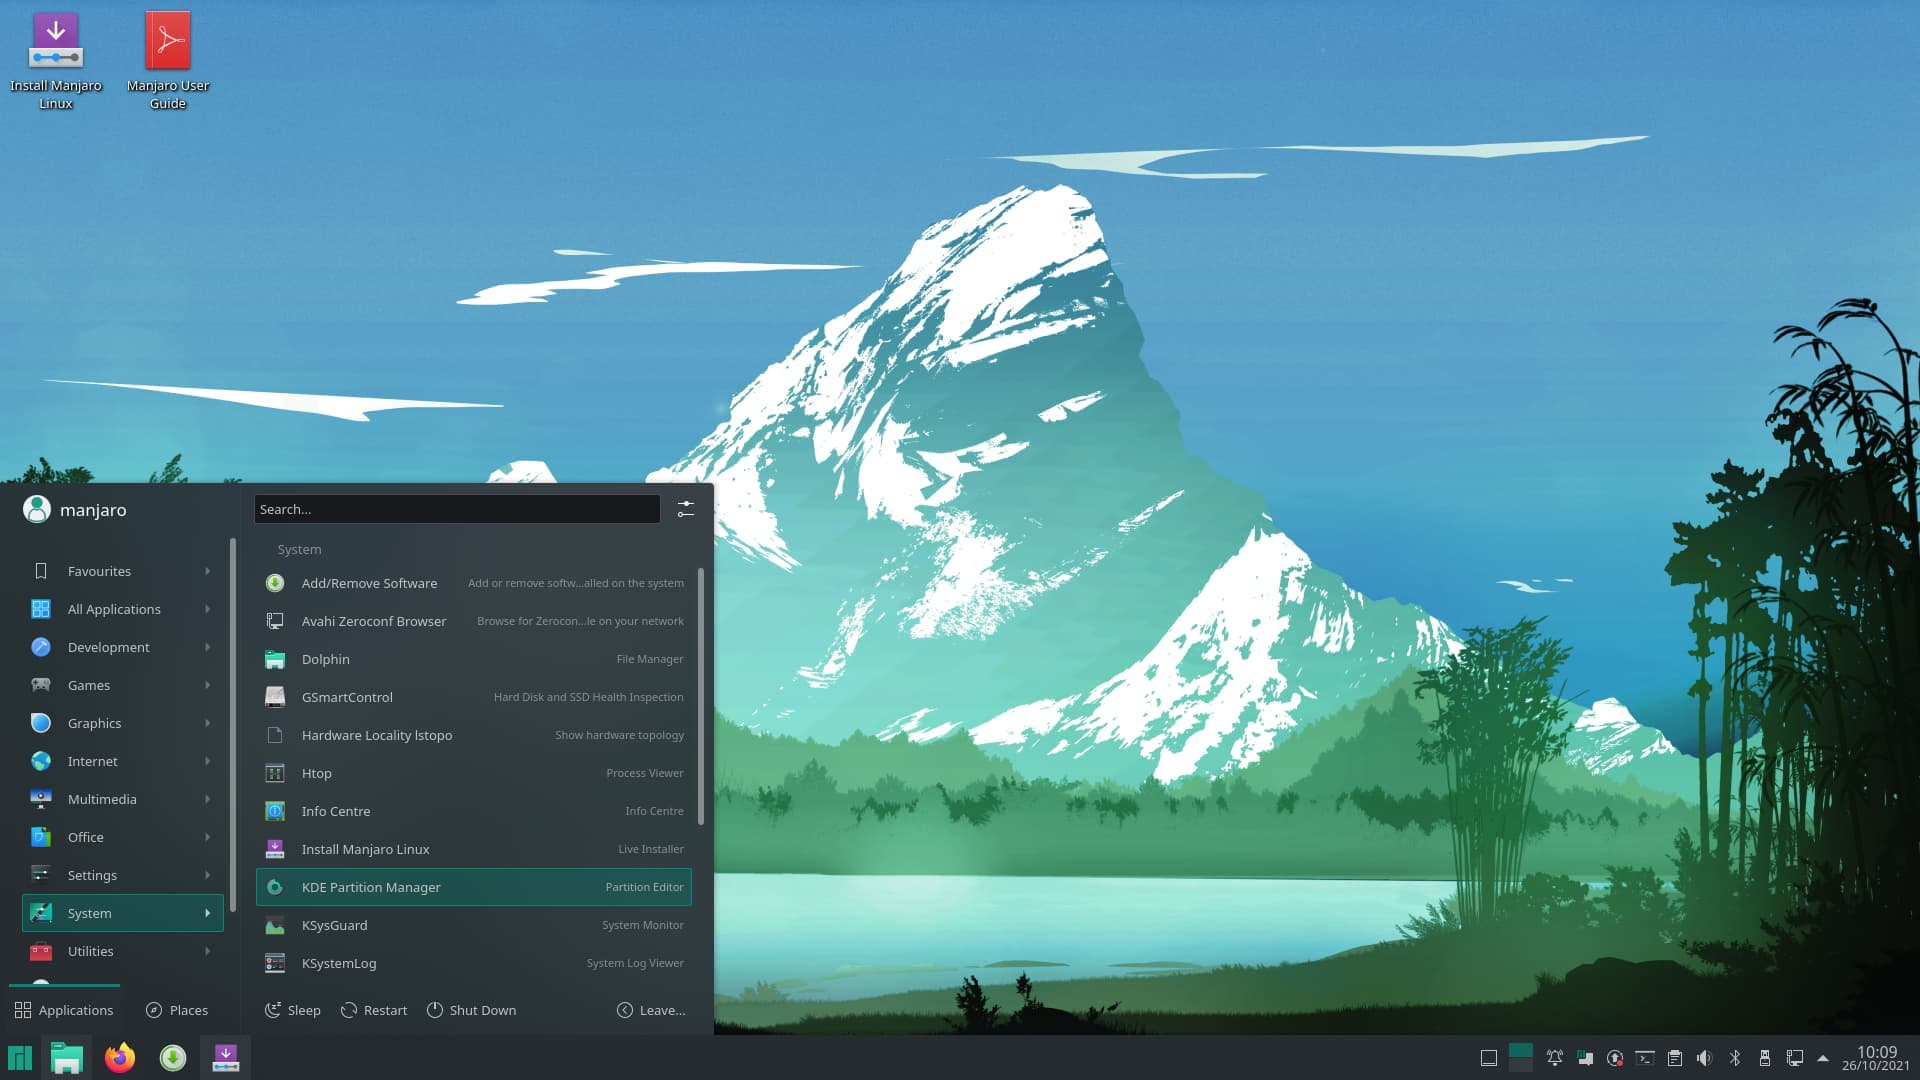
a. Either launch KDE Partition Manager (or install and launch GParted if you wish).
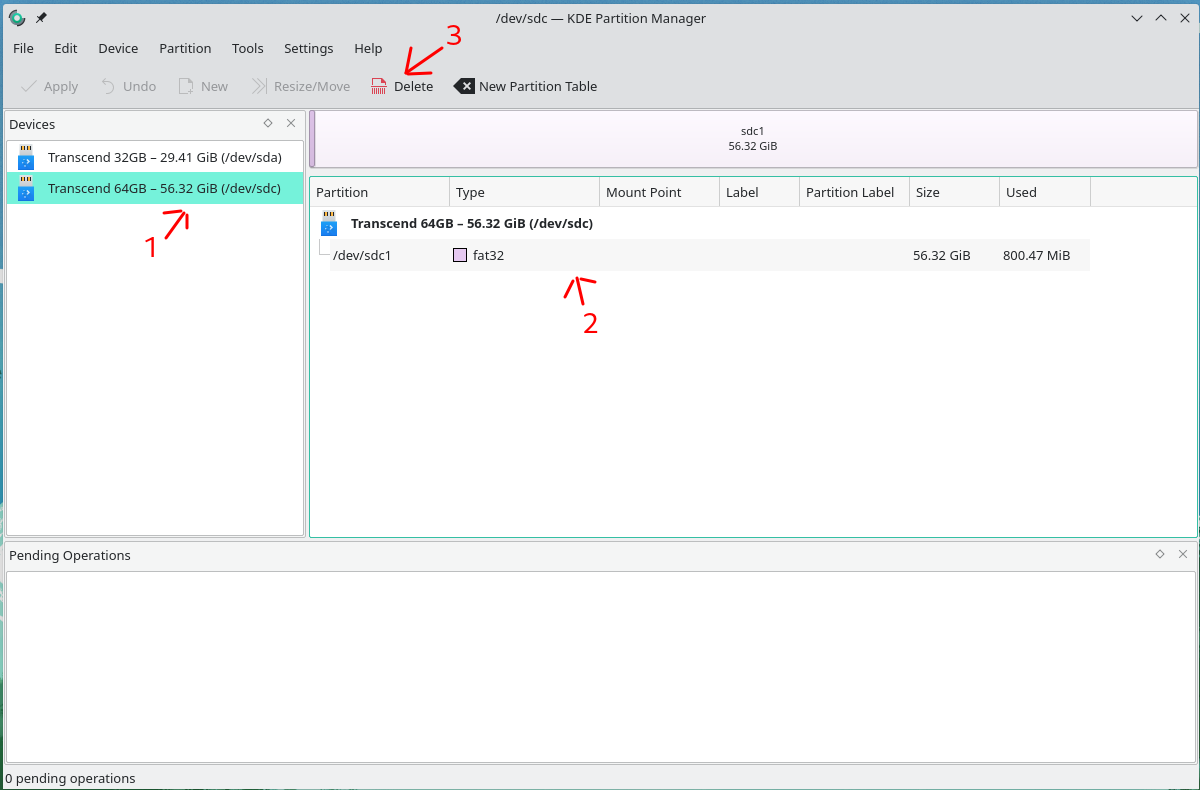
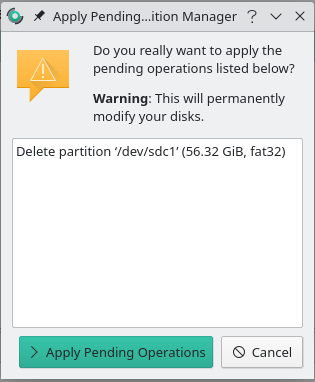
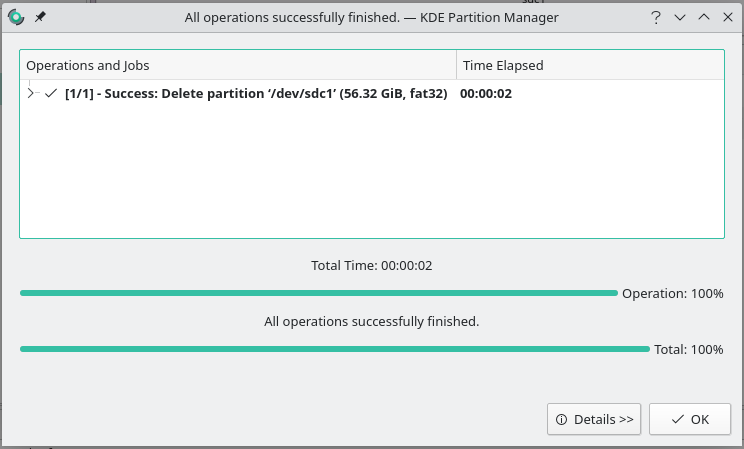
Erase the USB drive on which you want to install Manjaro and do create the necessary partitions.
[1] Select the USB key to format
[2] select the partition
[3] delete
b. Set up your preferred Location, Keyboard…
c. Select the target USB drive in the dropdown of Partitions section and partition the disk there as wanted.
After the machine is turned off, remove the live media and during boot select the USB in which you installed Manjaro and … voila!
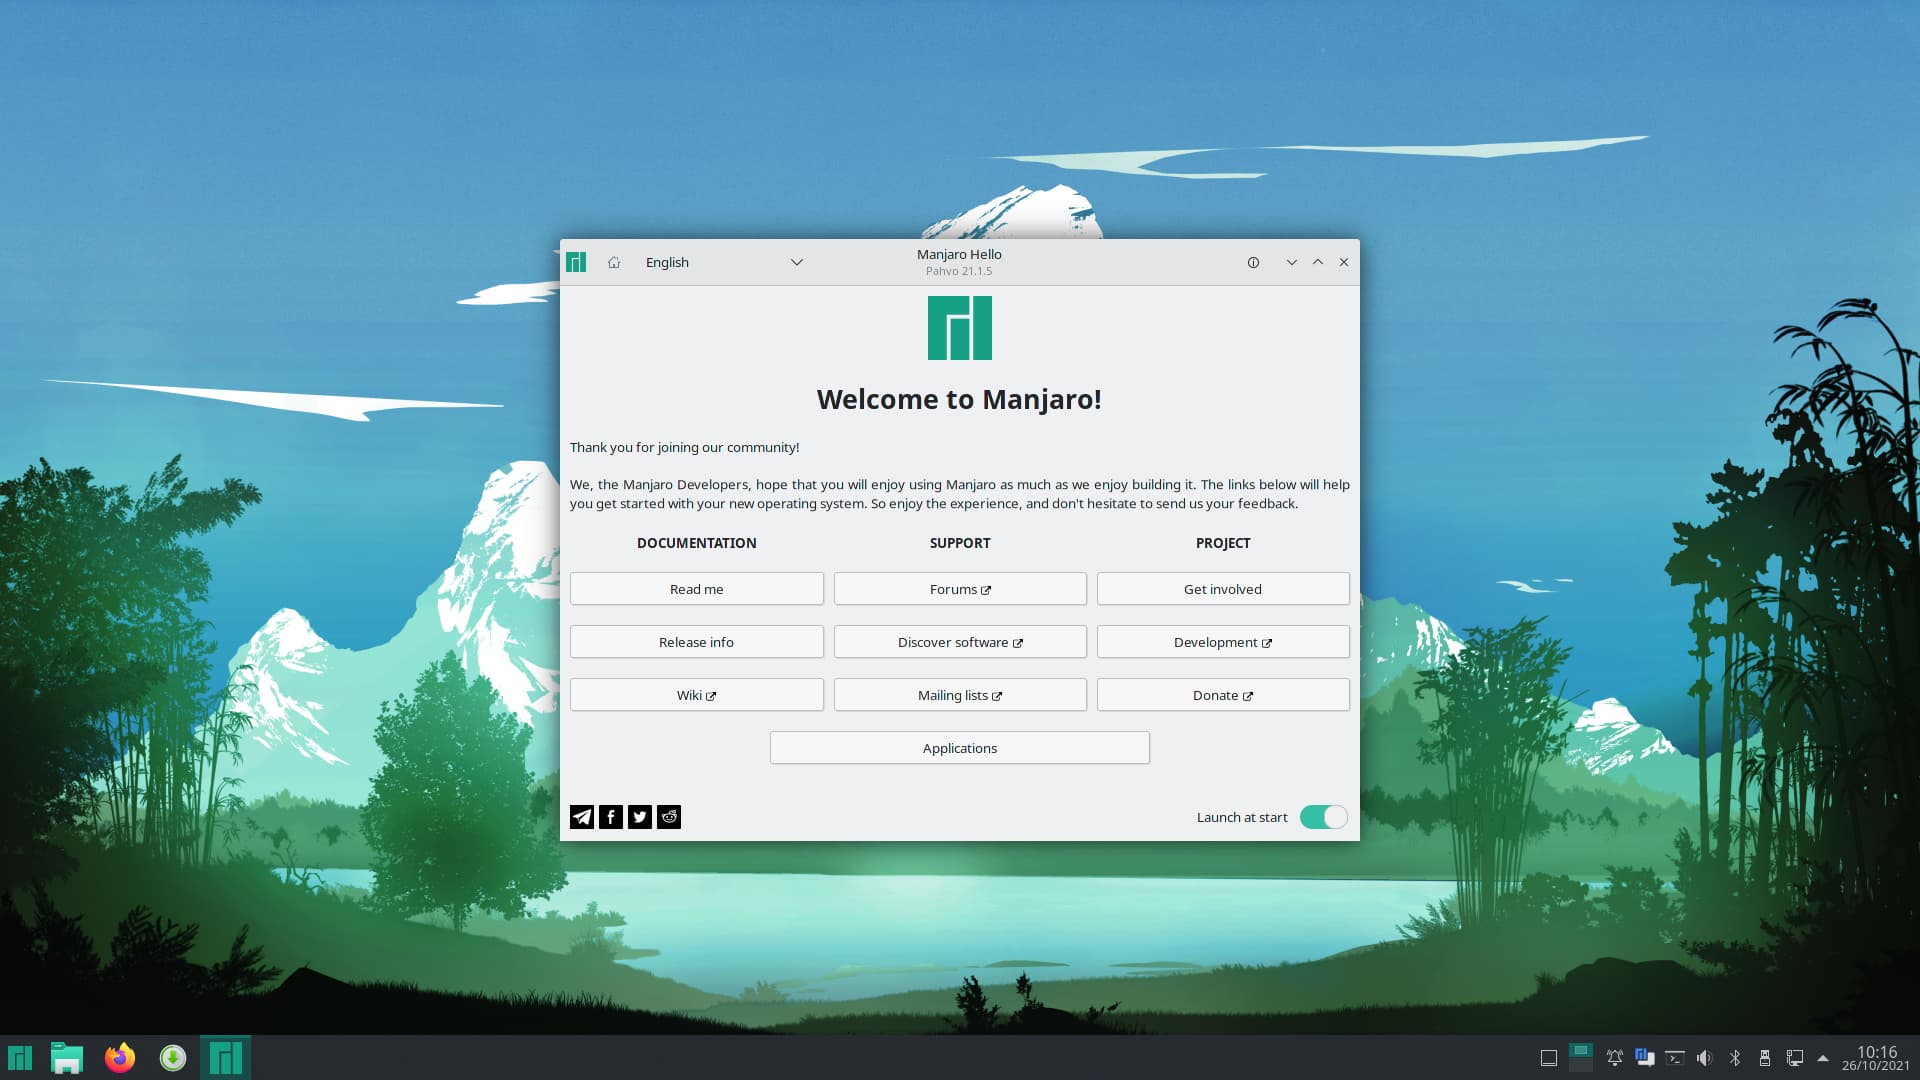
At first boot the user is clearly able to differentiate from the live media.
While I appreciate the work - and I am not questioning the author of the guide - it is not always possible for an end-user to make it happen. See below which is shortly after this guide was created
Some users have success with it - others don’t - but it boils down to: is the device listed as removable or not.
To my knowledge Calamares is designed avoid installing to removable devices - as it could create an issue where one accidently selects the device containing the installation source.
To check if your device is listed as removable - use lsblk and list the recognized devices then check the RM column of the output.
The number 1 designates a removable device - which Calamares won’t install to.
Sample (incomplete) output from my system and as you can see it is quite arbitrary how the system see’s the devices.
sdd is USB connected backup device (Seagate 2TB spinning HD)
sde is USB stick (Kingston DataTraveller)
mmcblk0 is SD-card (Transcend)
➜  ~ lsblk
NAME    MAJ:MIN RM   SIZE RO TYPE MOUNTPOINTS
sdd       8:48   0   1,8T  0 disk
└─sdd1    8:49   0   1,8T  0 part
sde       8:64   1  14,4G  0 disk
├─sde1    8:65   1   250M  0 part
├─sde2    8:66   1     1M  0 part
└─sde3    8:67   1  14,2G  0 part
sr0      11:0    1  1024M  0 rom
mmcblk0 179:0    0    15G  0 disk
└─mmcblk0p1
        179:1    0    15G  0 part
nvme0n1 259:0    0 476,9G  0 disk
├─nvme0n1p1
│       259:1    0   300M  0 part
├─nvme0n1p2
│       259:2    0 467,8G  0 part /
└─nvme0n1p3
        259:3    0   8,8G  0 part [SWAP]
First of all, thanks a lot for pointing out one potential problem of the tutorial .
Well, I installed Manjaro on three USB sticks (2 SanDisk, 1 Sony) [not a large number, of course] using method 1; all three are designated removable by lsblk and the install was successful in all three cases. Is there any other factor also at play here?
Also, will let you know after doing a bit more testing .
Warning: It is not possible to flip the Removable Medium Bit (RMB) on every USB mass storage device and attempting to use software that is incompatible with your device may damage it. Attempting to flip the RMB is not recommended. - Install Arch Linux on a removable medium - ArchWiki
Could be - but what? Firmware maybe?
I have for years been using Lenovo hardware. I cannot remember I have tested installing to USB on other hardware.
So when I have tried to accomplish the same thing - I have always failed.
Just checked with some other devices I have available - a 64G Sandisk Extreme and a Western Digital USBC 500GB
sdf     8:80   1  59,6G  0 disk
├─sdf1
│       8:81   1     1M  0 part
├─sdf2
│       8:82   1    50M  0 part
└─sdf3
        8:83   1  59,6G  0 part /run/media/fh/USB64_BOOT
sdg     8:96   0 476,9G  0 disk
├─sdg1
│       8:97   0 220,9G  0 part /run/media/fh/wd-usb
├─sdg2
│       8:98   0    32M  0 part /run/media/fh/VTOYEFI
└─sdg3
        8:99   0   256G  0 part /run/media/fh/wd-data
Since all my attempts had failed and the only denominator was the removable media bit - I have been fairly certain the bit was the deciding factor for Calamares.
First of all, I could not make VirtualBox to see USB devices. No matter how much I tried, it refused to show them. And believe me when I say I tried. I did all the suggestions out there. Including installing the extension pack and adding a filter with my device IDs. But it just did nothing.
So I turned to VMWare as an alternative. This time, at least I could see my USB device on the guest machine. But now I could not list the USB device as a installation destination. The installation dialog only shows virtual drive defined by VMWare and that’s it. I tried deleting USB’s partitions and even creating new ones but the USB was never an installation destination. I also tried adding this line to the .vmx file of the VMWare virtual machine:
firmware="efi"
[SOLUTION]
I’ve found what was wrong in my case. I needed to change the partitioning of my USB before it was accepted as the installation destination. I used KDE’s partition manager and I created a new partition table of type MSDOS. Then I created a new partition of FAT32 format. Then everything worked just fine.
I can after testing today, confirm that you can install Manjaro on a Ventoy stick. The condition is you have to create the ventoy in cli and use the -r tag and provide the size in MB you want to “leave over” for the manjaro install.
Use that space to manually create the partitions in the install. You need a 300MB fat32 as boot and the rest can be used to set as root.
I tried today with btrfs as root fs and worked flawlessly.
The only downside is they both (ventoy and new Manjaro boot) have the same boot name in bios so you “just have to know if it’s the first or second”
But booted fine and ran like a rocket off my nvme-usb-stick.
Just confirming @mehran. This is the answer to not seeing the usb in the installer. Just popped it into my dev machine and did as was suggested, i.e. reformat to MBR partition table and a fat32 partition. Then it was recognized in installer, install succeeded (slowly) and I could boot from it.