This tutorial takes some cues from the already existing
But while that tutorial employs EasyEffects, which works only for pipewire, this guide will introduce JamesDSP, which works with both pipewire and pulseaudio*.
* Pulseaudio support is in maintenance mode.
In order to use JamesDSP with pulseaudio you must use the separate jamesdsp-pulse package.
JamesDSP also boasts a more approachable interface and, in most cases, significantly reduced overhead. This is compounded by its modular nature - you can choose which portions of the processor to add.
In the following steps we will build and install JamesDSP and enable just two components for noticeably improved sound. This should result in an additional ~100mb of memory used while JamesDSP is running, and a negligible single digit percent CPU use (1% on my test system) only when audio is being processed (played).
JamesDSP is currently only available from the Arch User Respository, so you must be familiar with that before proceeding.
The Manjaro Wiki has an introduction:
We will go through the manual steps here, making no assumption about prior packages.
sudo pacman -Syu git base-devel
git clone https://aur.archlinux.org/jamesdsp.git
cd jamesdsp
makepkg -sric
Now that jamesdsp is installed on your system you may launch it.
This should initiate the setup wizard with a few preliminary steps.
Now to the fun parts.
![]() Remember to keep your volume low for initial testing.
Remember to keep your volume low for initial testing. ![]()
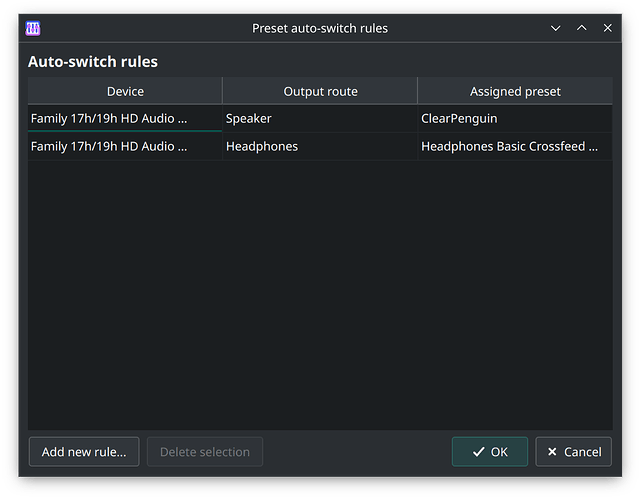
There are a lot of settings available, and even scripting logic to integrate different presets according to devices plugged or unplugged, profiles for various headphones and more.
For now we will focus on 2 settings for improved audio quality.
![]() A preset is provided at the bottom of this guide.
A preset is provided at the bottom of this guide. ![]()
- Under the first tab Bass/Misc enable Dynamic bass boost
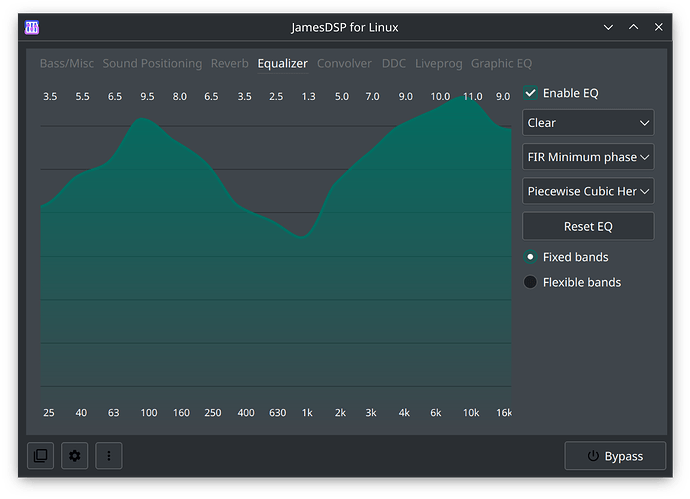
- Under the fourth tab Equalizer set Enable EQ and select preset Clear*
* This preset may be too aggressive. Consider lessening values or using other presets.
Thats it!
This is by no means a definitive solution for High Fidelity audio on all systems.
But it is a reasonable starting point for many basic linux systems, such as laptops.
Of course more experienced users or those with particular needs can and should make use of more components of jamesdsp as well as further adjustments in general.
Remember every body is different, and so is the hardware we interface with it.
Preset for Public Consumption
ClearPrenguin.conf
To use this preset simply place the file in ~/.config/jamesdsp/presets
bass_enable=true
bass_maxgain=5
compander_enable=false
compander_granularity=2
compander_response=95.0;200.0;400.0;800.0;1600.0;3400.0;7500.0;0;0;0;0;0;0;0
compander_time_freq_transforms=0
compander_timeconstant=0.22000
convolver_enable=false
convolver_file=
convolver_optimization_mode=0
convolver_waveform_edit=-80;-100;0;0;0;0
crossfeed_bs2b_fcut=700
crossfeed_bs2b_feed=60
crossfeed_enable=false
crossfeed_mode=0
ddc_enable=false
ddc_file=
graphiceq_enable=false
graphiceq_param=GraphicEQ: 25 0; 40 0; 63 0; 100 0; 160 0; 250 0; 400 0; 630 0; 1000 0; 1600 0; 2500 0; 4000 0; 6300 0; 10000 0; 16000 0
liveprog_enable=false
liveprog_file=
master_enable=true
master_limrelease=60
master_limthreshold=-0.1
master_postgain=0
reverb_bassboost=0.25000
reverb_decay=2.09000
reverb_delay=0.00000
reverb_enable=false
reverb_finaldry=-7.00000
reverb_finalwet=-9.00000
reverb_lfo_spin=0.70000
reverb_lfo_wander=0.30000
reverb_lpf_bass=600
reverb_lpf_damp=9000
reverb_lpf_input=18000
reverb_lpf_output=17000
reverb_osf=1
reverb_reflection_amount=0.30000
reverb_reflection_factor=1.00000
reverb_reflection_width=0.70000
reverb_wet=-8.00000
reverb_width=1.00000
stereowide_enable=false
stereowide_level=60
tone_enable=true
tone_eq=25.0;40.0;63.0;100.0;160.0;250.0;400.0;630.0;1000.0;1600.0;2500.0;4000.0;6300.0;10000.0;16000.0;1.52727;3.45974;4.51948;6.51429;5.45455;3.95844;1.52727;0.966233;0.52987;3.02338;4.51948;6.01558;6.45195;7.01299;5.95325
tone_filtertype=0
tone_interpolation=0
tube_enable=false
tube_pregain=200
Further information can be found at the github project page:


