Manjaro Linux installers for ARM CPUs, need .ISO installation files

Hi, a long user of Manjaro here, I had been using it, both as my main OS and in VirtualBox installations.

Last June, I bought an Apple Mac mini M4 which is good so far.

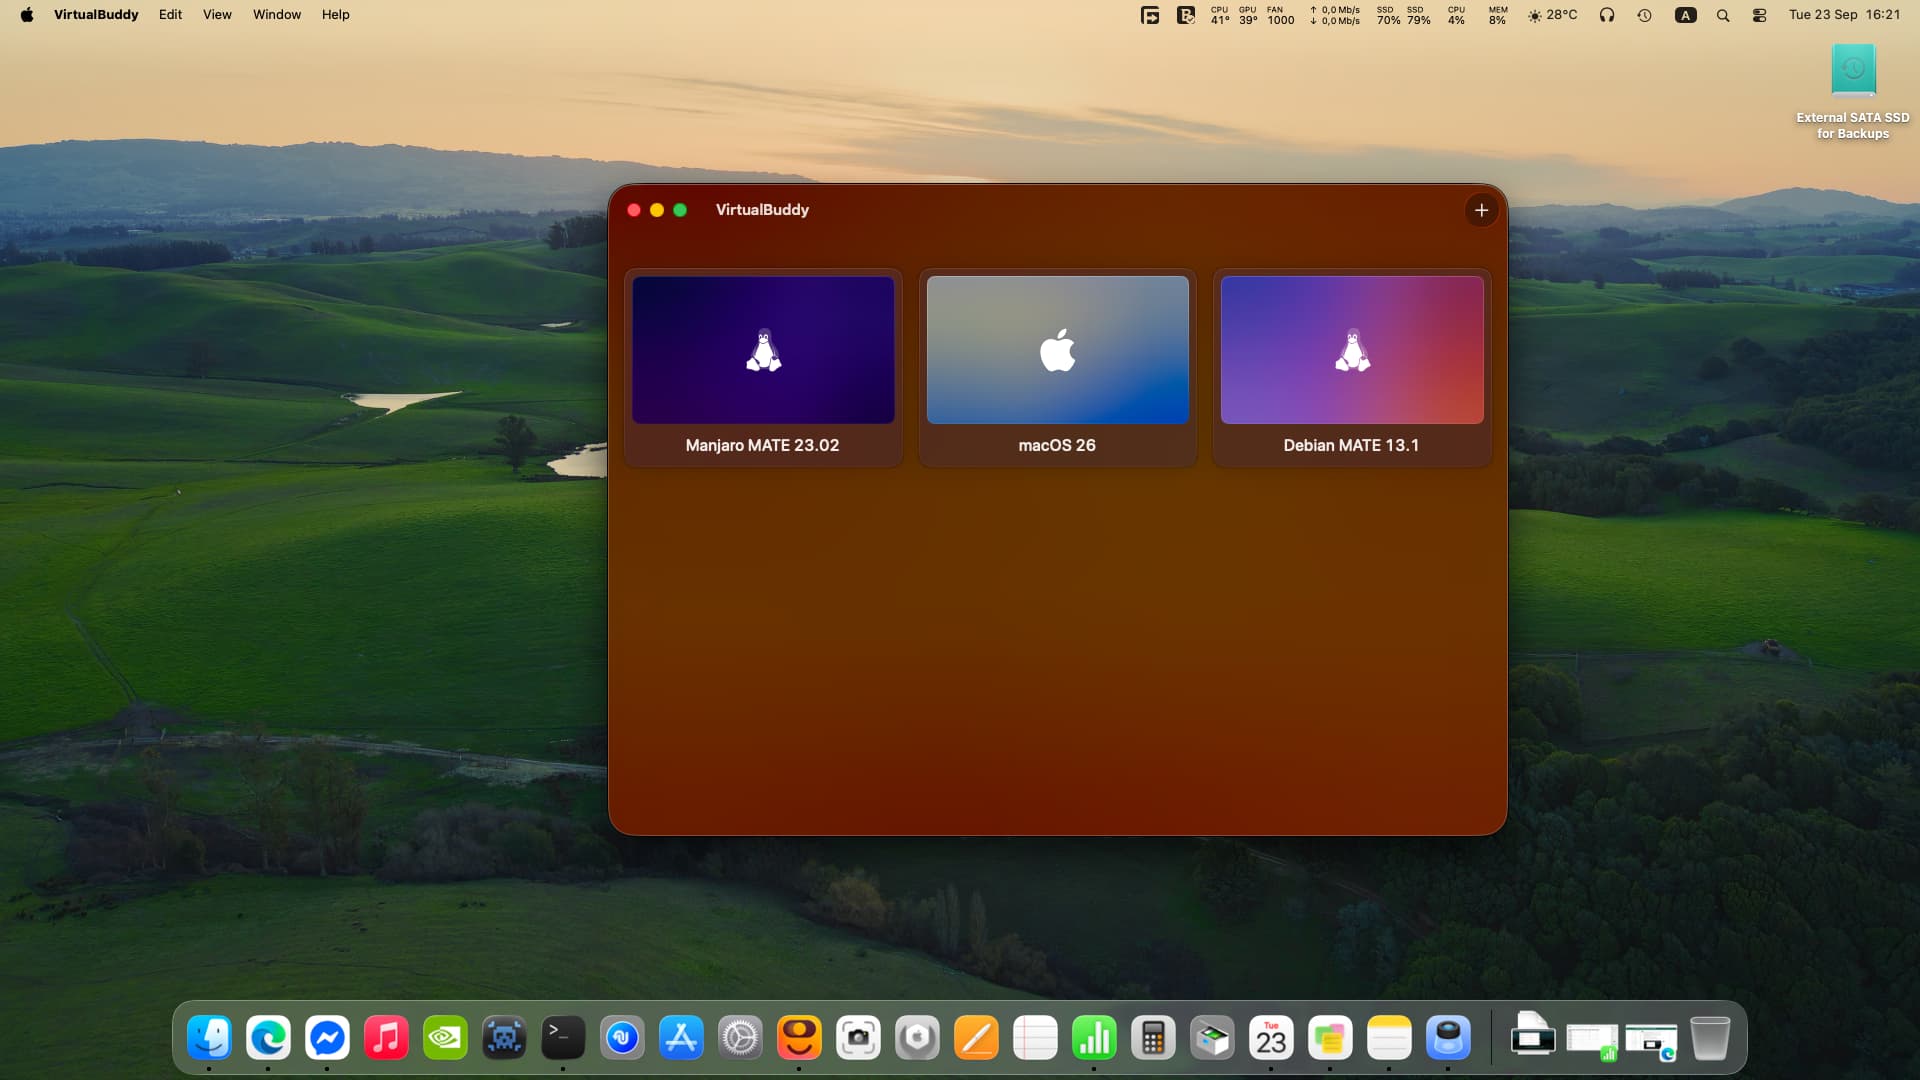
I tried to install Manjaro MATE edition, for ARM, both to VirtualBox and VirtualBuddy, as virtual machines.

VirtualBox 7.2.2 fails, and it is very buggy on macOS, so i uninstalled it.

As for VirtualBuddy, it is excellent and it uses the macOS 26 virtualisation.

The Manjaro ARM installation images come in .img format, and in VirtualBuddy, Manjaro installs itself successfully on the same desktop environment disk images it comes with, with no free space after installation, not space even for the updates.

I think it would be very good, if Manjaro provided .ISO installation files for Desktop Environments on ARM, for us users, who are running macOS, to install Manjaro Linux on virtual machines and perhaps on the entire computers someday.

These are image files, not .ISO files.

ISO and img is two sides of the same usecase. Theoretically you should be able to convert an .img file to .iso and vice-versa.

For ARM system there is no unified approach on how the system should load the provided operating system - if any.

Manjaro ARM suffers from the lack of maintainers with the necessary knowledge and commitment to the ARM platform and this is the foremost reason why I don’t see it happen.

It is how it is…

Manjaro is primarily an x86_64 OS and ARM is only existing because of one person - which withdrew from the team back in - if memory is not failing - Feb. 2022 and since then ARM has been loosing momentum on Manjaro.

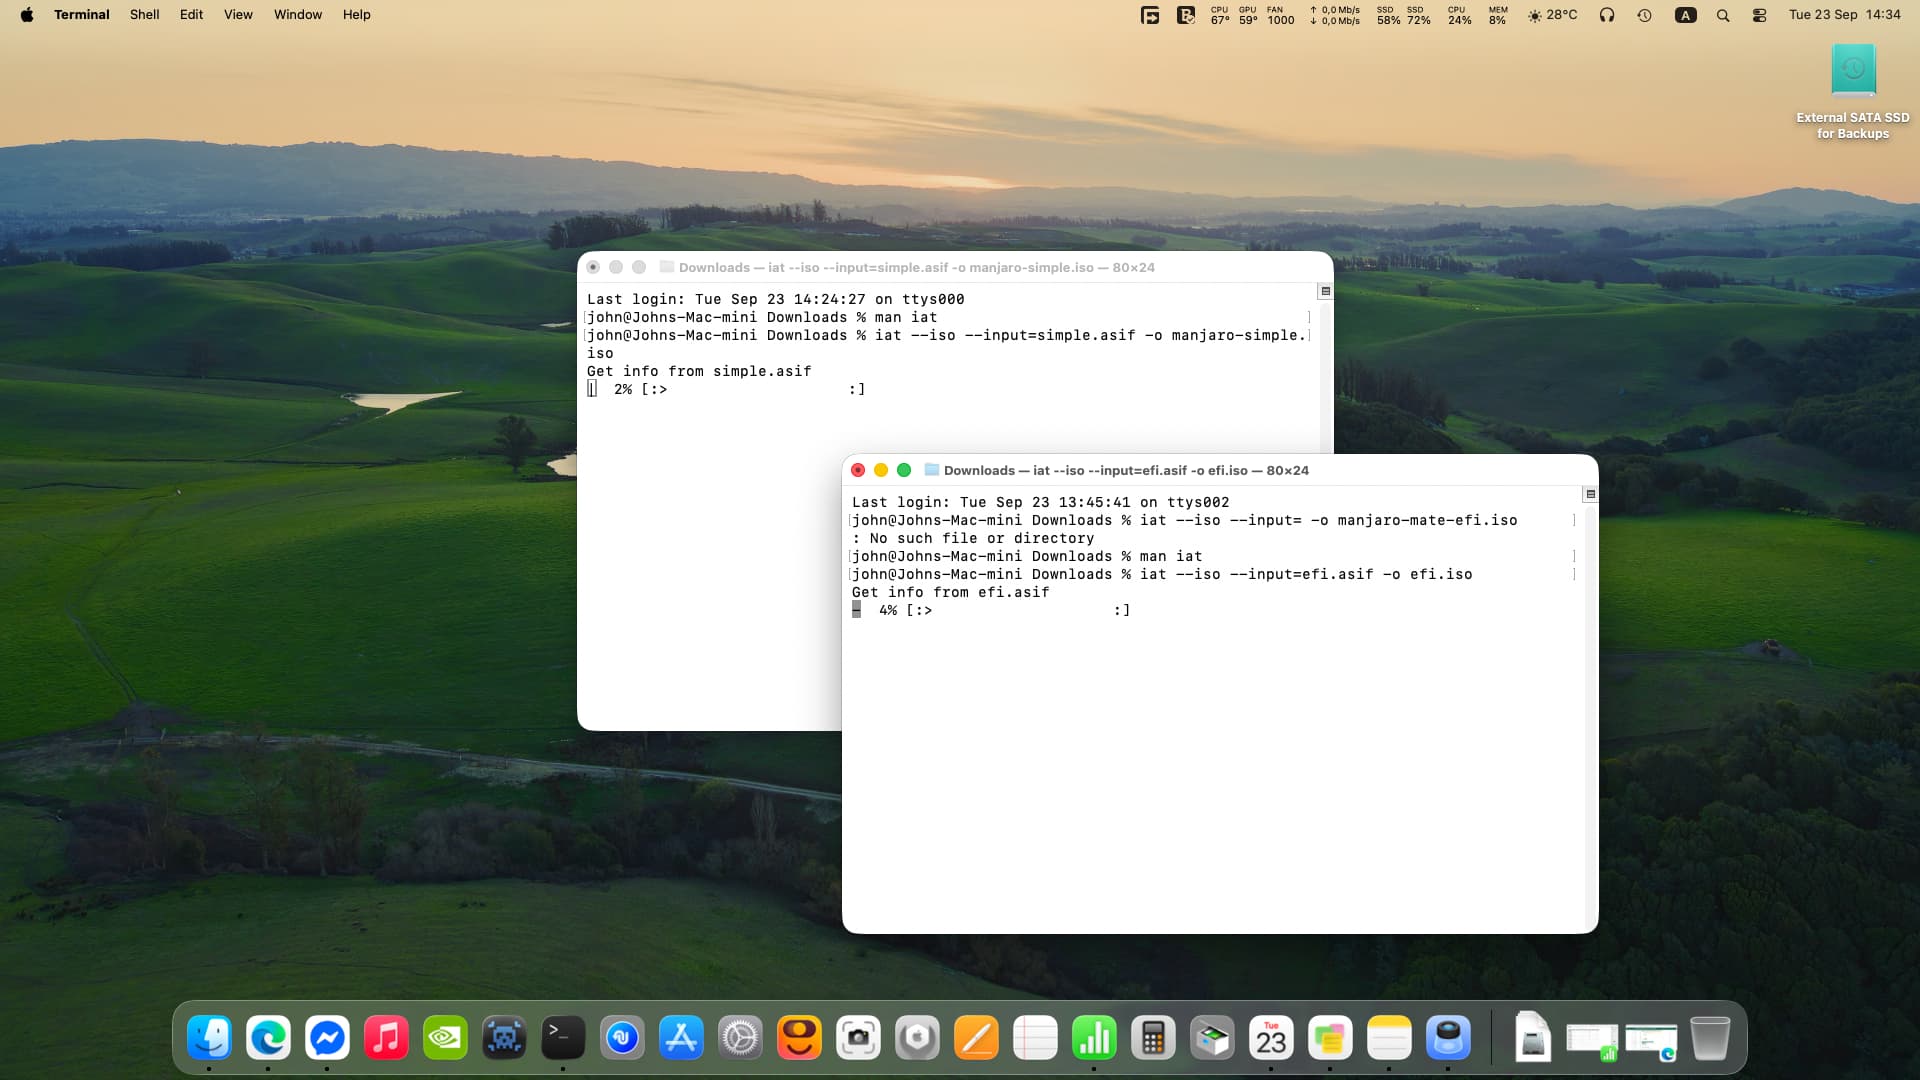
It’s actually quite easy to convert an .img to a .iso. See:

A newer and more versatile tool, iat, can read IMG files and many more CD image formats and either convert them to ISO files or directly “burn” them to disk.

We left it for last, though, because it failed in one case while testing it.

To install it, use:

sudo apt install iat

To initiate a conversion, use the following command:

iat input_file.img output_file.iso

Finally, if everything we saw here failed, maybe you should consider the possibility of your IMG file not being a CD or DVD image. As we said at the very beginning, “an IMG file can be many things,” such as a hard disk and partition backups.
…

And iat is in the AUR, so can be installed with:

pamac build iat

Hope this helps!

I installed iat to macos, and tried to convert two .img files. to .iso, but they failed.

Now I converted .img files to .asif files, and retrying to convert to .iso using iat.

I write here what I did, regarding installation of Manjaro MATE (ARM version) as a VirtualBuddy virtual machine, on a Mac Mini M4 with macOS 26.

I resized the Manjaro generic-efi .img file, from 6 GB to 128 GB with Disk Utility of macOS.

I added the image file as an external disk to virtual machine settings (I am not sure whether the external disk setting was needed).

I booted the virtual machine and I installed Manjaro MATE successfully.

I shut down the virtual machine, and removed the external disk option.

Now the virtual machine works great, but the installed version of this distribution is of poor quality.

The MATE edition is not official in the first place. There might, or perhaps even will be some niggles.

Furthermore, @linux-aarhus did mention and explain why ARM losing steam:

Manjaro ARM suffers from the lack of maintainers with the necessary knowledge and commitment to the ARM platform and this is the foremost reason why I don’t see it happen.

It is how it is…

Manjaro is primarily an x86_64 OS and ARM is only existing because of one person - which withdrew from the team back in - if memory is not failing - Feb. 2022 and since then ARM has been loosing momentum on Manjaro.

True, you guys do very nice work with Manjaro x64, that’s why I used it as my main OS.

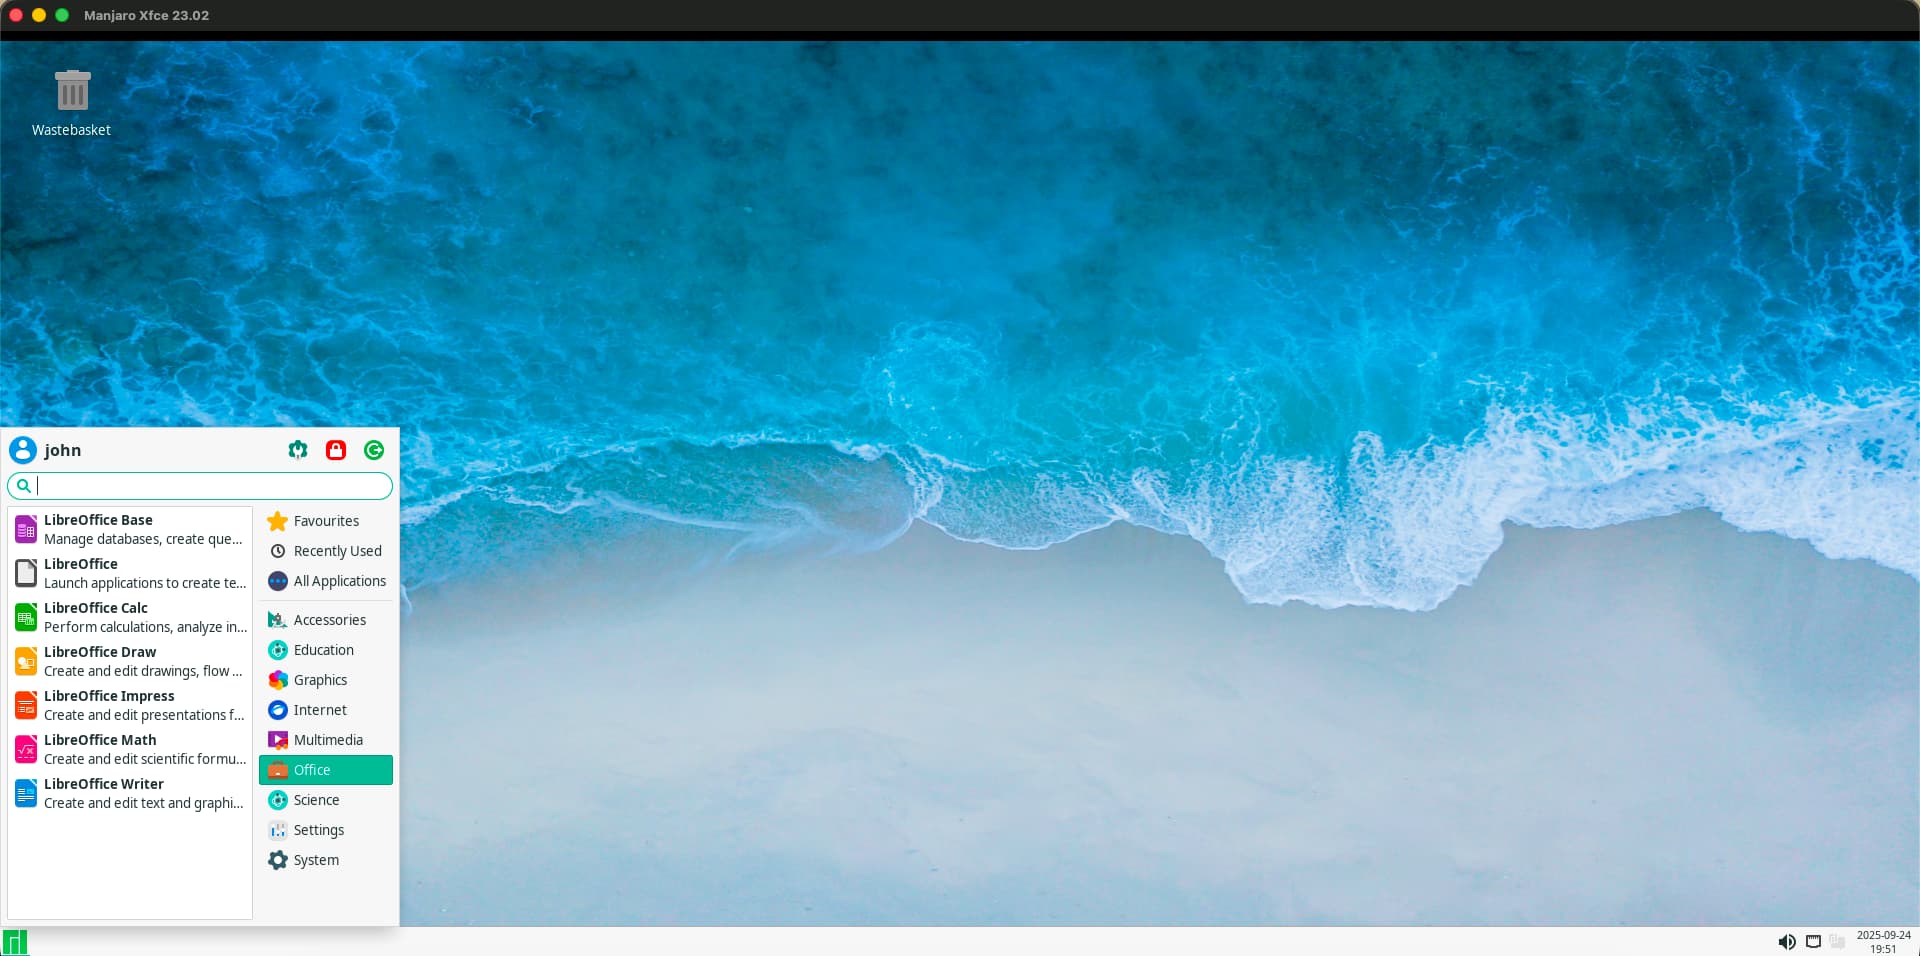
Manjaro MATE ARM is a little old, but I will keep it in my virtual machine to fix it.

The only real issue is that, panel icons, like mate terminal, caja and others, do not show up when you login in, although they are supposed to be on the panel.

Exist but the typical SBCs aren’t compliant, it is a group of stuff life arm SystemReady, SBSA, EBBR, SBBR

Indeed, yes, that’s true.

It seems I’m late to the party, but in case what follows is still useful to you (or passers-by), read on:


Converting IMG to ISO:

The easierst might be to use the ccd2iso tool available from the official Manjaro repositories;

sudo pacman -S ccd2iso
ccd2iso -h

Usage: ccd2iso <.img filename> <.iso filename>


Otherwise, an old favourite of mine;

Any of the above methods will probably do what you need – I use PowerISO (CLI) for Linux myself, however infrequently.

Regards.

Guys I have managed to install Manjaro MATE ARM on VirtualBuddy (macOS), and the icon issue was fixed by itself.

Perhaps it happened due to zero free space on virtual disk.

I will post the procedure later today, it is easy.

To install a Manjaro Generic EFI, with a desktop environment, we download the .img file of one of them (GNOME, KDE, MATE, Xfce, or other).

In a VirtualBuddy virtual machine we do the following:

  1. We create the virtual machine on VirtualBuddy as a “Debian Linux”. Then rename it as “Manjaro” or any name you want.
  2. With Disk Utility we convert the downloaded .img file to .asif file.
  3. With Disk Utility we increase the size of the .asif file, according to our needs (for example 128GB).

This new size, is logical, and does not occupy 128GB of space initially, it just increases its size while you add data, up to 128GB.

  1. We add the new .asif file to the virtual machine, in Storage section. We mark the virtual disk .asif as external.
  2. We boot the virtual machine, and install Manjaro.
  3. After installing Manjaro, we shutdown the virtual machine. Then remove the .asif virtual disk from the virtual machine.
  4. We rename the .asif file as “Disk.asif”.
  5. We go to /Users/Our_user_name/Library/Application Support/VirtualBuddy in Find.
  6. We select the virtual machine file name, and right-click on it.
  7. We select “Show Package Contents”.
  8. We replace the existing Disk.asif file there, with the new one we created before.

That’s it, we have Manjaro ARM installed in a VirtualBuddy virtual machine.

2 Likes

I installed Manjaro Xfce ARM, very nice and elegant.

This topic was automatically closed 3 days after the last reply. New replies are no longer allowed.