Difficulty ★★☆☆☆
This was tested on:
- XFCE
- 5.10 LTS
-
Install headers for your Linux kernel:
open Terminal
sudo pacman -S linux510-headers -
Install v4l2loopback-dkms:
git clone https://aur.archlinux.org/v4l2loopback-dkms.gitthen:
cd v4l2loopback-dkmsthen:
makepkg -scCi -
Create a fake/virtual video capture device:
sudo modprobe v4l2loopback devices=1 video_nr=10 card_label="OBS Cam" exclusive_caps=1 -
Set up a virtual audio device to help stop latency
sudo modprobe snd-aloop index=10 id="OBS Mic"then type:
pacmd 'update-source-proplist alsa_input.platform-snd_aloop.0.analog-stereo device.description="OBS Mic"'
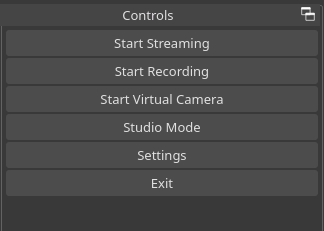
Done! OBS Studio should now display a functioning virtual camera option
-DTA